Share GEO Results Under Your Brand
Give your end-clients read-only access to their GEO audit results through a private, branded portal link. No account needed — just share the link.
Table of Contents
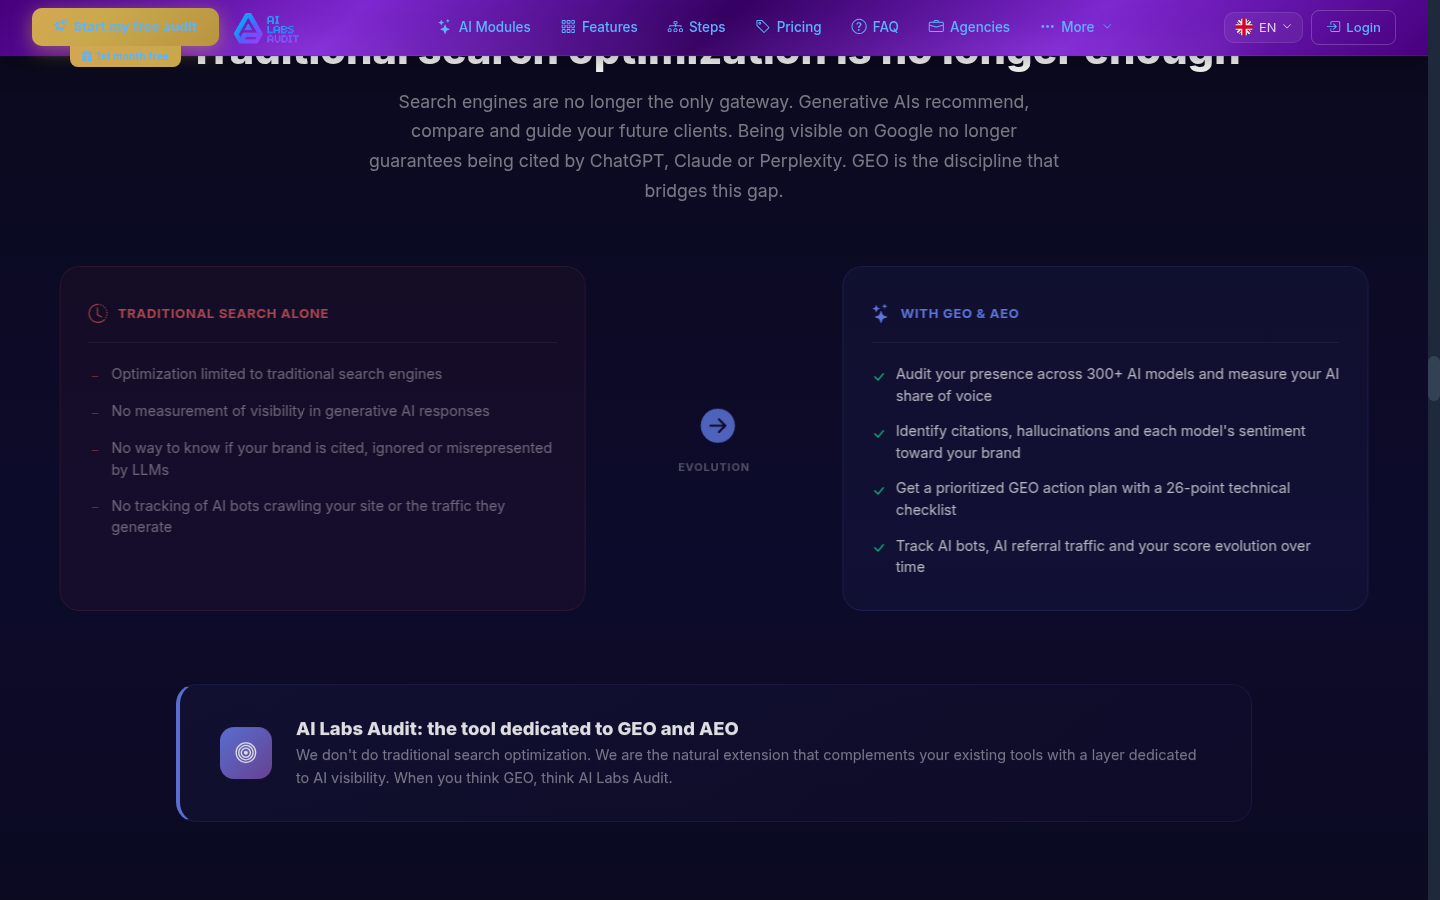
What is the Client Portal?
The Client Portal is a read-only interface that lets you share GEO audit results with your end-clients through a private branded link. Your client sees their scores, checklist, reports — but cannot modify anything.
The portal displays your white-label branding (logo, colors, company name), so your client never sees "AI Labs Audit". It looks like your own platform.
This feature is ideal for:
- Agencies — Share GEO audit results without giving dashboard access
- Consultants — Provide transparent reporting to clients under your brand
- Resellers — Offer a professional read-only view as part of your service
Prerequisites
Before setting up the client portal, make sure you have:
- Consultant+ plan — The client portal is a Consultant+-exclusive feature. Check your current plan in your profile settings.
- At least 1 client with a completed GEO audit — The portal displays audit results, so you need at least one finished audit for the portal to show data.
- White-label configured — For a fully branded experience, configure your logo, colors and company name first. See our white-label tutorial for step-by-step instructions.
Activating the Portal
Follow these steps to activate the client portal for a specific client:

What Your Client Sees
When your client opens the portal link, they see a branded dashboard with all their GEO audit results. Here is everything included:
GEO Scores Dashboard
The main dashboard displays the key GEO metrics for your client:
Visibility Score
Overall visibility score across all AI models (0-100).
Sentiment
How positively AI models talk about your client’s brand.
Position
Average ranking position in AI model responses.
Share of Voice
Percentage of AI mentions vs. competitors.

GEO Checklist (26 points)
Your client sees the complete GEO checklist with 26 optimization points. Each item shows whether it passes or needs improvement, giving your client a clear action roadmap.

Evolution Charts
If multiple audits have been run, the portal shows evolution charts tracking how GEO scores change over time. This is ideal for demonstrating the value of your AEO optimization work.

PDF Reports
If PDF reports have been generated for this client, they are also accessible from the portal. All reports display your white-label branding.
White-Label Customization
The client portal inherits your white-label settings. Here is how to configure them for the best portal experience:
Setting Your Branding
Go to your profile settings and navigate to the White Label tab. You can configure:
- Company logo — Displayed in the portal header and all reports (PNG recommended, max 2 MB)
- Primary color — Used for headers, buttons and accent elements
- Secondary color — Used for backgrounds, borders and secondary elements
- Company name — Displayed in the portal footer and report headers

How the Portal Inherits Your Settings
Once you save your white-label configuration, all existing and future client portals automatically use your branding. There is no extra step — the portal picks up your settings in real time.

Security & Management
The client portal is designed with security in mind. Here is how access works and how you can manage it:
Token-Based Access
Each client gets a unique private token embedded in their portal URL. This token is cryptographically generated and cannot be guessed. It provides access only to that specific client’s data — never to other clients or your agency settings.
Read-Only Access
The portal is strictly read-only. Your client can:
- View GEO scores and metrics
- Browse the GEO checklist
- See evolution charts
- Download PDF reports (if available)
Your client cannot:
- Modify any data or settings
- Launch new audits
- Access other clients' data
- See your agency’s dashboard or billing
Optional Password
By default, the portal link is the access — no password, no account creation. Ideal for non-technical clients who just need to click.
For sensitive clients (confidential data, regulated industries) you can enable password protection on the client profile: a "Portal password" field appears, the client must enter that password once to access the portal (the session is then remembered until revocation or password change).
Revoking Access
You can revoke access at any time from the client detail page. Once revoked:
- The existing link stops working immediately
- You can generate a new token if you want to re-enable access
- The old link will never work again, even if bookmarked
Best Practices
- Share portal links via encrypted email or secure messaging
- Revoke access when a client contract ends or is paused
- Periodically regenerate tokens for long-term clients
- Never publish portal links on public websites or social media
Frequently Asked Questions
Can I customize the portal per client?
The portal uses your global white-label settings (logo, colors, company name). If you have configured per-client branding in the PDF configuration, those overrides may also apply to the portal view. This means different clients can see different branding if you have set up per-client overrides.
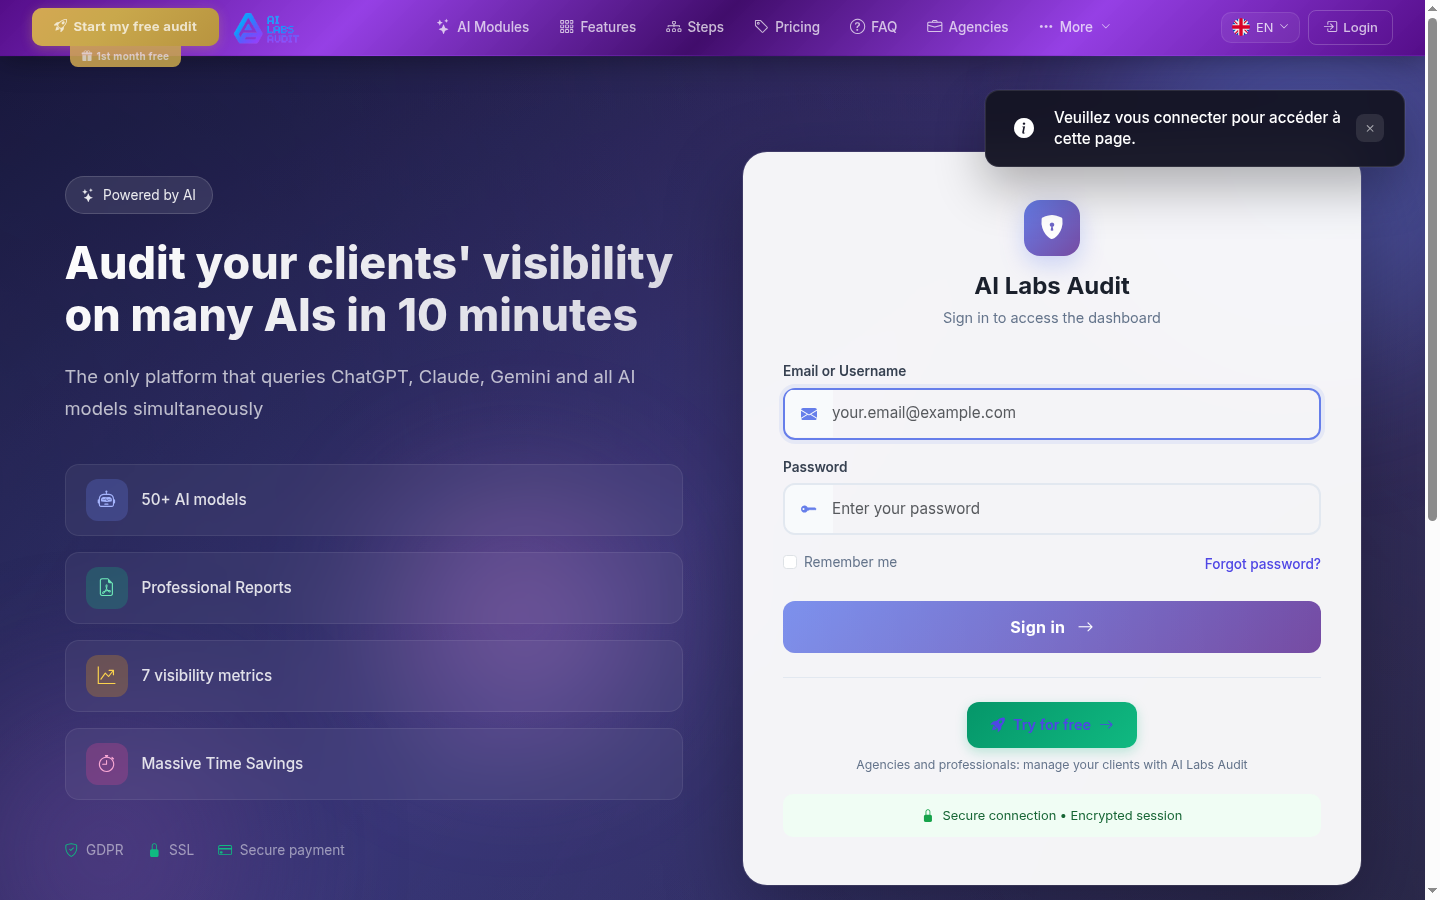
Does my client need an account?
No. The client portal is completely account-free. Your client only needs the private link you share with them. No registration, no password, no login form. This makes it extremely easy for non-technical clients to access their results.
Can I track if my client viewed the portal?
Yes. The system logs portal access events, so you can see when a client last accessed their portal. This is useful for tracking client engagement and knowing whether they have reviewed their latest GEO audit results.
How do I revoke access?
Go to the client detail page and click the portal revoke/disable option. The link will stop working immediately. You can regenerate a new token at any time if you want to re-enable access with a fresh link.
Ready to share GEO results with your clients?
Set up the client portal and start delivering a professional, branded experience to your end-clients.
Configure Client PortalReady to audit your AI visibility?
Create your free account and receive 500 bonus credits.
Create free account